When creating new spaces the 'Create Space' dialog will be prompted. Within there users get to choose a Space Blueprint and interact with the Space Blueprint Form. To configure the Space Blueprint form click on the second icon from the left.
![]()
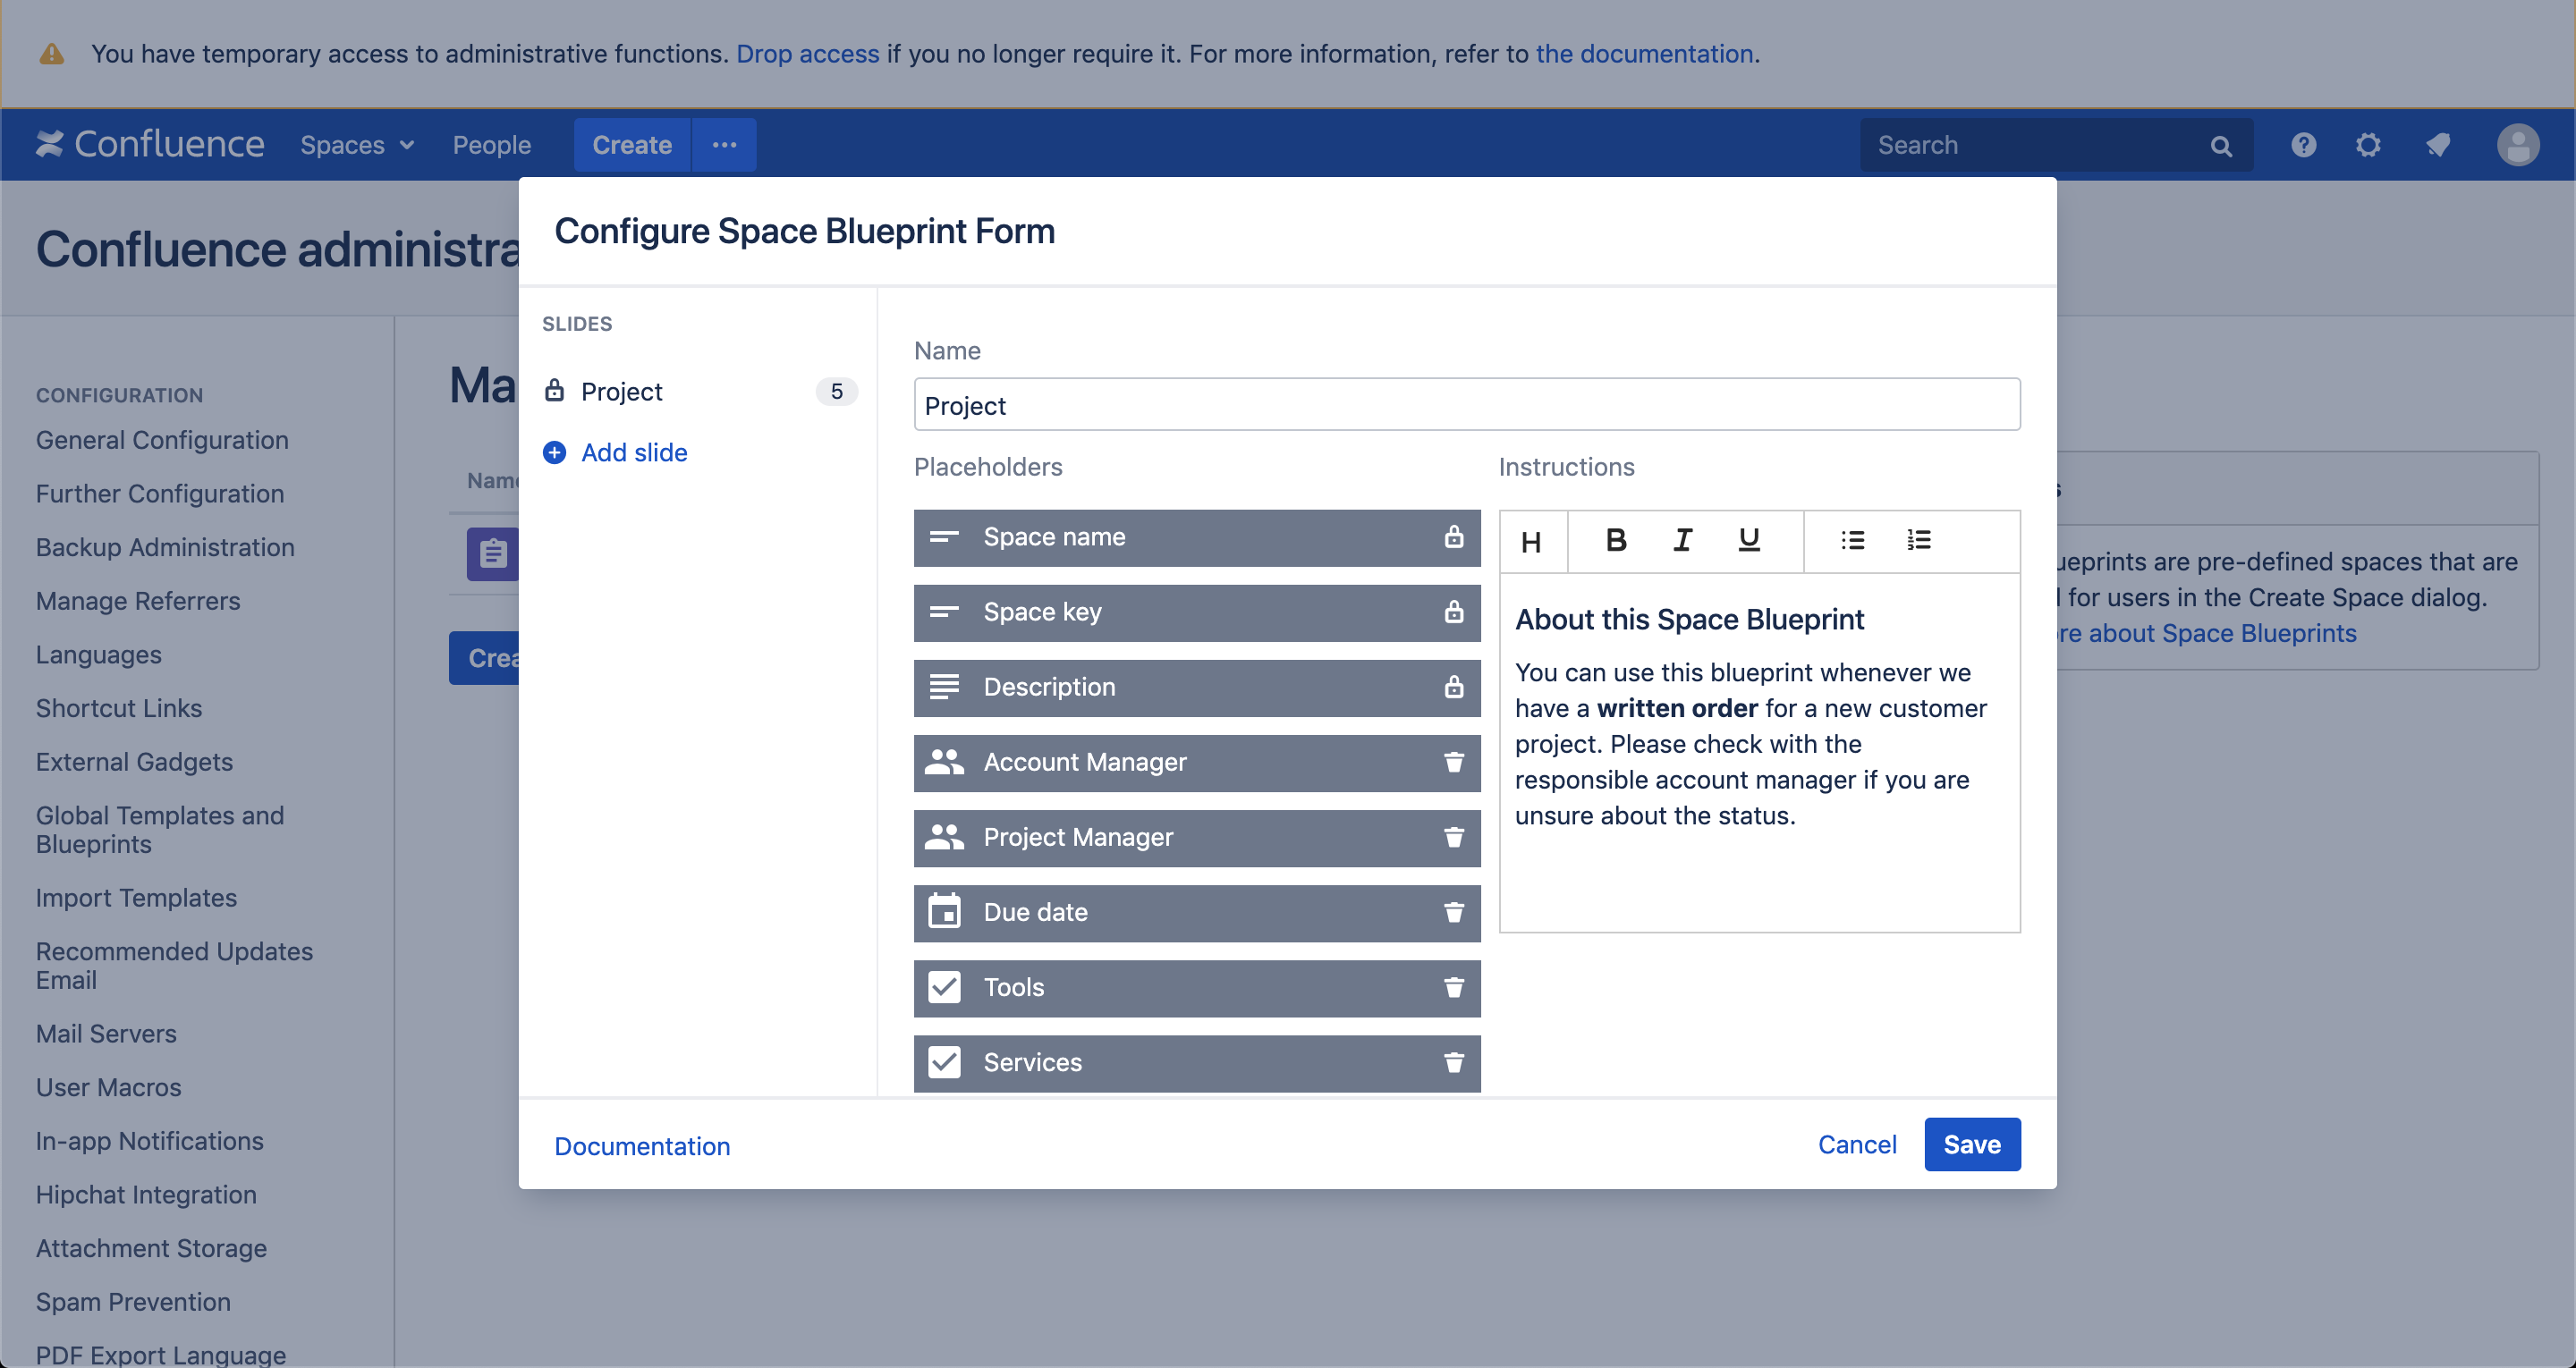
The Blueprint Creator allows you to customize the form by adding instructions. It also displays the system placeholders 'Space name', 'Space key' and 'Description'. These three can neither be deleted nor moved.
![]()
If you are using placeholders in your Space Blueprint this is where they will be prompted to users.
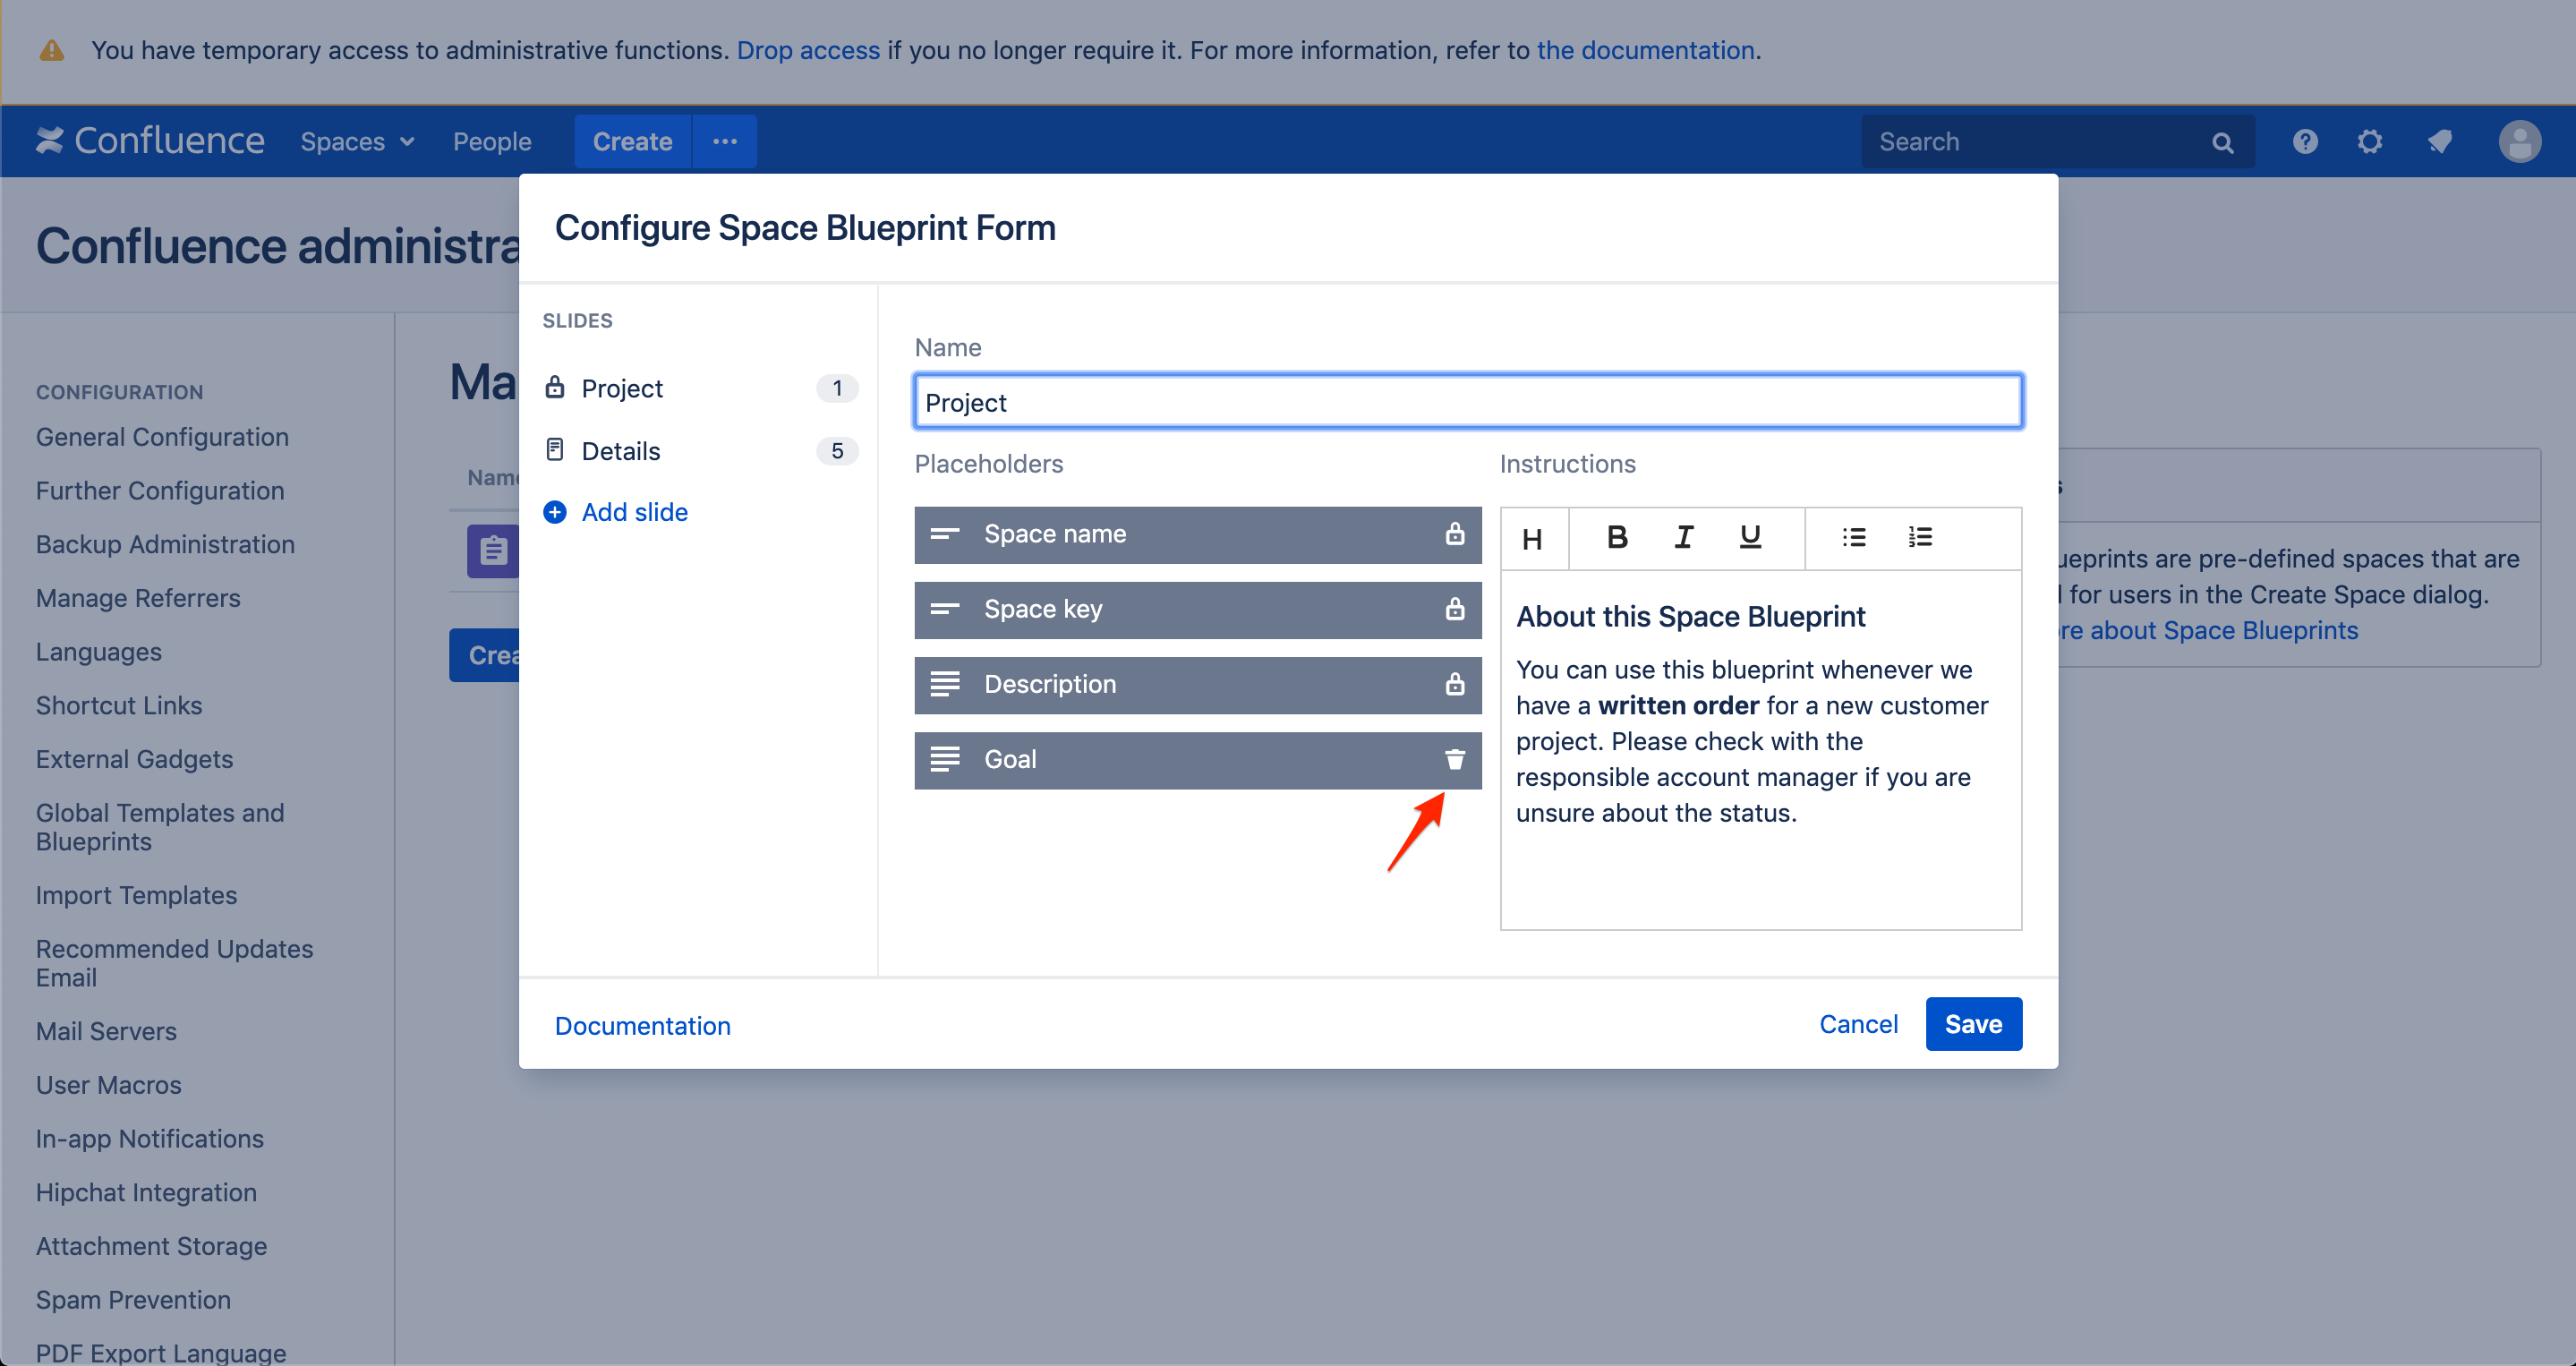
Adding slides
To not overwhelm the user with a very long form and provide him with contextual instructions you can add slides to the Space Blueprint Form and assign placeholders to them (pagination).
Click on '![]() Add slide' to create a new page for the form and move the placeholders you want to by drag & drop. The order of the placeholders matches the view in 'Create space' dialog.
Add slide' to create a new page for the form and move the placeholders you want to by drag & drop. The order of the placeholders matches the view in 'Create space' dialog.
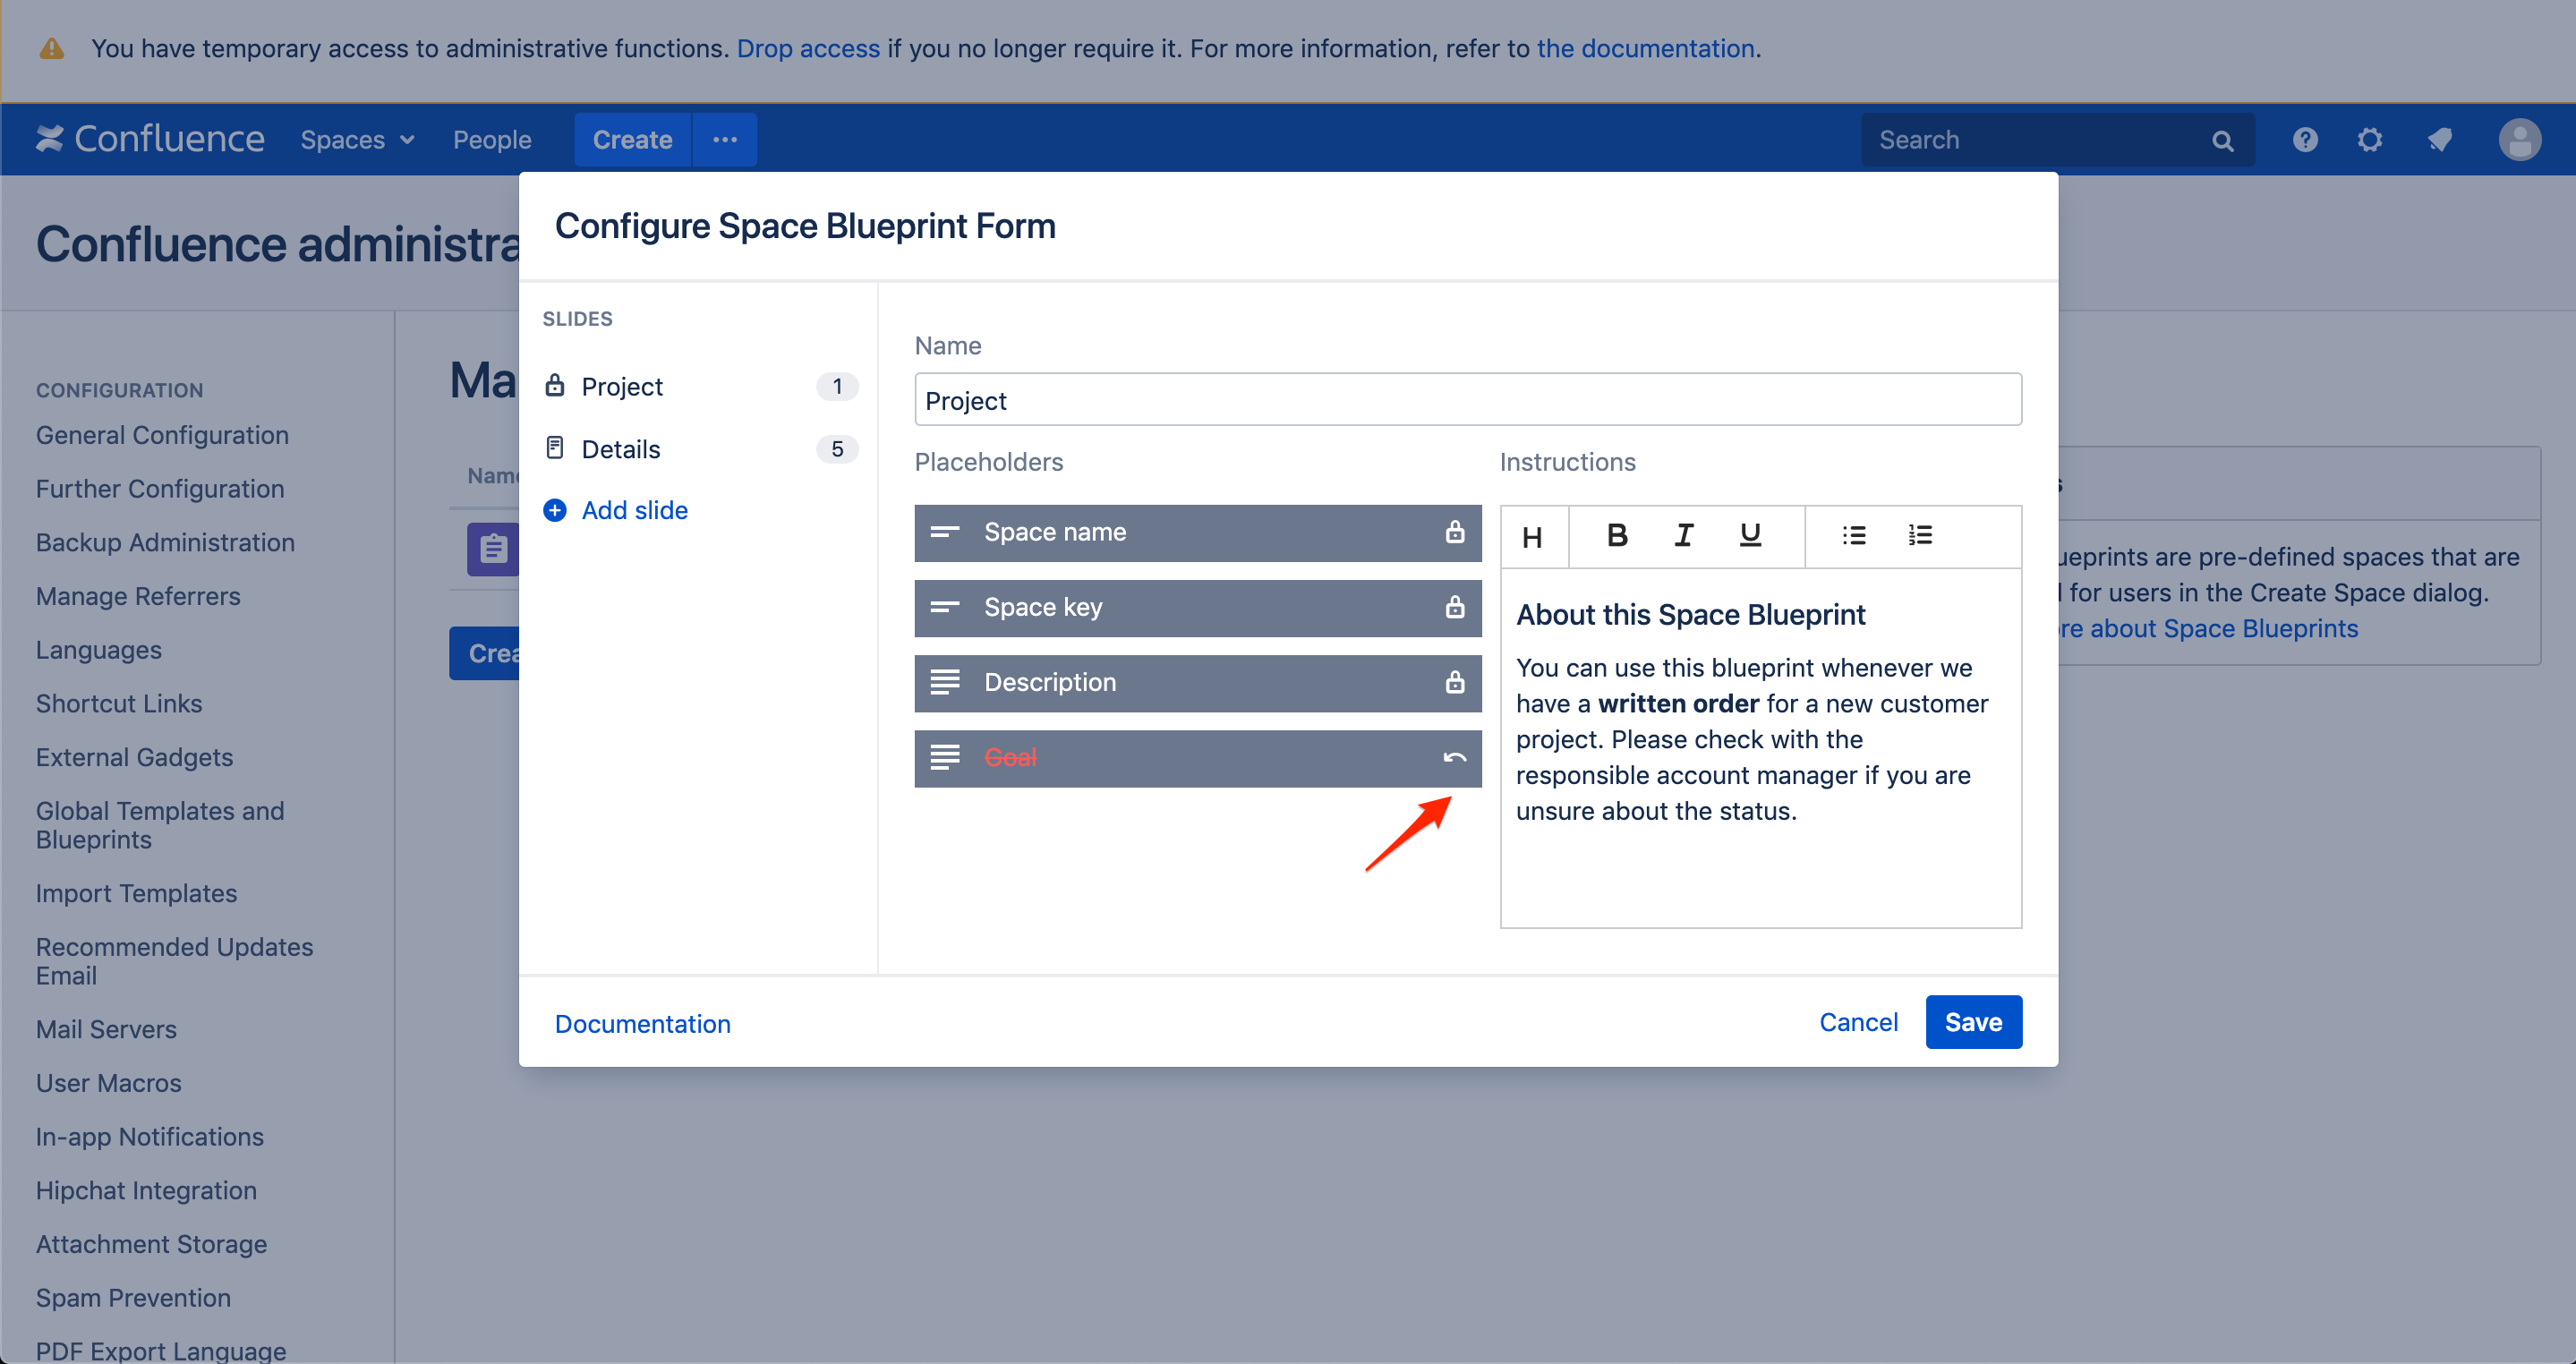
Once deleted placeholders cannot be restored.
On this page